Friday, December 30, 2016

Stamped clips

Hello my dear crafty friends!
Welcome to my new small tutorial made for Susan K Weckesser's blog.
This time I decided to make something for the planners trend. And as I don't even have a planner, but I do use  small notebooks, I made a few stamped clips for my notebooks as dividers.
So here is my tutorial:
1. Stamp Susan's  houses with her Clearsnap ColorBox mini Pop ink in Mystery color twice using co-branded with Unity Tumbleweed Houses stamp set.


2. Color the houses with Susan's other Clearsnap inks in Fresh, Ice, Sky and Kiss colors and as there is no Susan's yellow ink I used another Clearsnap ink in yellow. Don't try to make the best ever coloring and don't afraid to be out of the lines as we are going to cut the houses later.


3. Cut all colored houses and make them 3d using 3d foam glue.
Glue the house over plastic office clips with strong paper to plastic glue.
Use them!


Monday, December 26, 2016

Going Wild with Stamped Pendants

One of my favorite things to do is to use supplies and materials in unexpected ways.  So I love to use stampers and stamp pads in jewelry making, jewelry components in paper crafting, and incorporating things like fabric, yarns, and thread into all things.

I use stampers all the time on clay.  It is super easy to do and the little components can be used in many ways.  Recently I made piles of personalized Christmas ornaments with some of Susan's stamps and some Sculpey clay.  To finish some of the clay scraps off, I stamped a few extras.


I used a straw to poke holes in the clay before baking.


They can easily become simple pendants on a ribbon necklace.


These will make lovely little gifts for friends.


Added to some colored twine, they dress up a simple jar of candy.


I used:
Sculpey polymer clay
Stamp pad
Colored Twine
straw
plastic rolling pin
Plexiglas clipboard
Small Heart cookie cutter


Have a very Happy New Year!

Brooke Bock from the Susan K. Weckesser Design Team

Tuesday, December 20, 2016

Life's A Picnic

Hello Friends!!  This is Joyce Shaulis with my last post with the 2016 Susan K. Weckesser creative design team.  This month, we're making gifts that we can give away to strangers, neighbors, or friends.  I had these miniature picnic baskets on hand just waiting for creativity to strike!  I thought these would be adorable to fill with candy and given away as little gifts. 


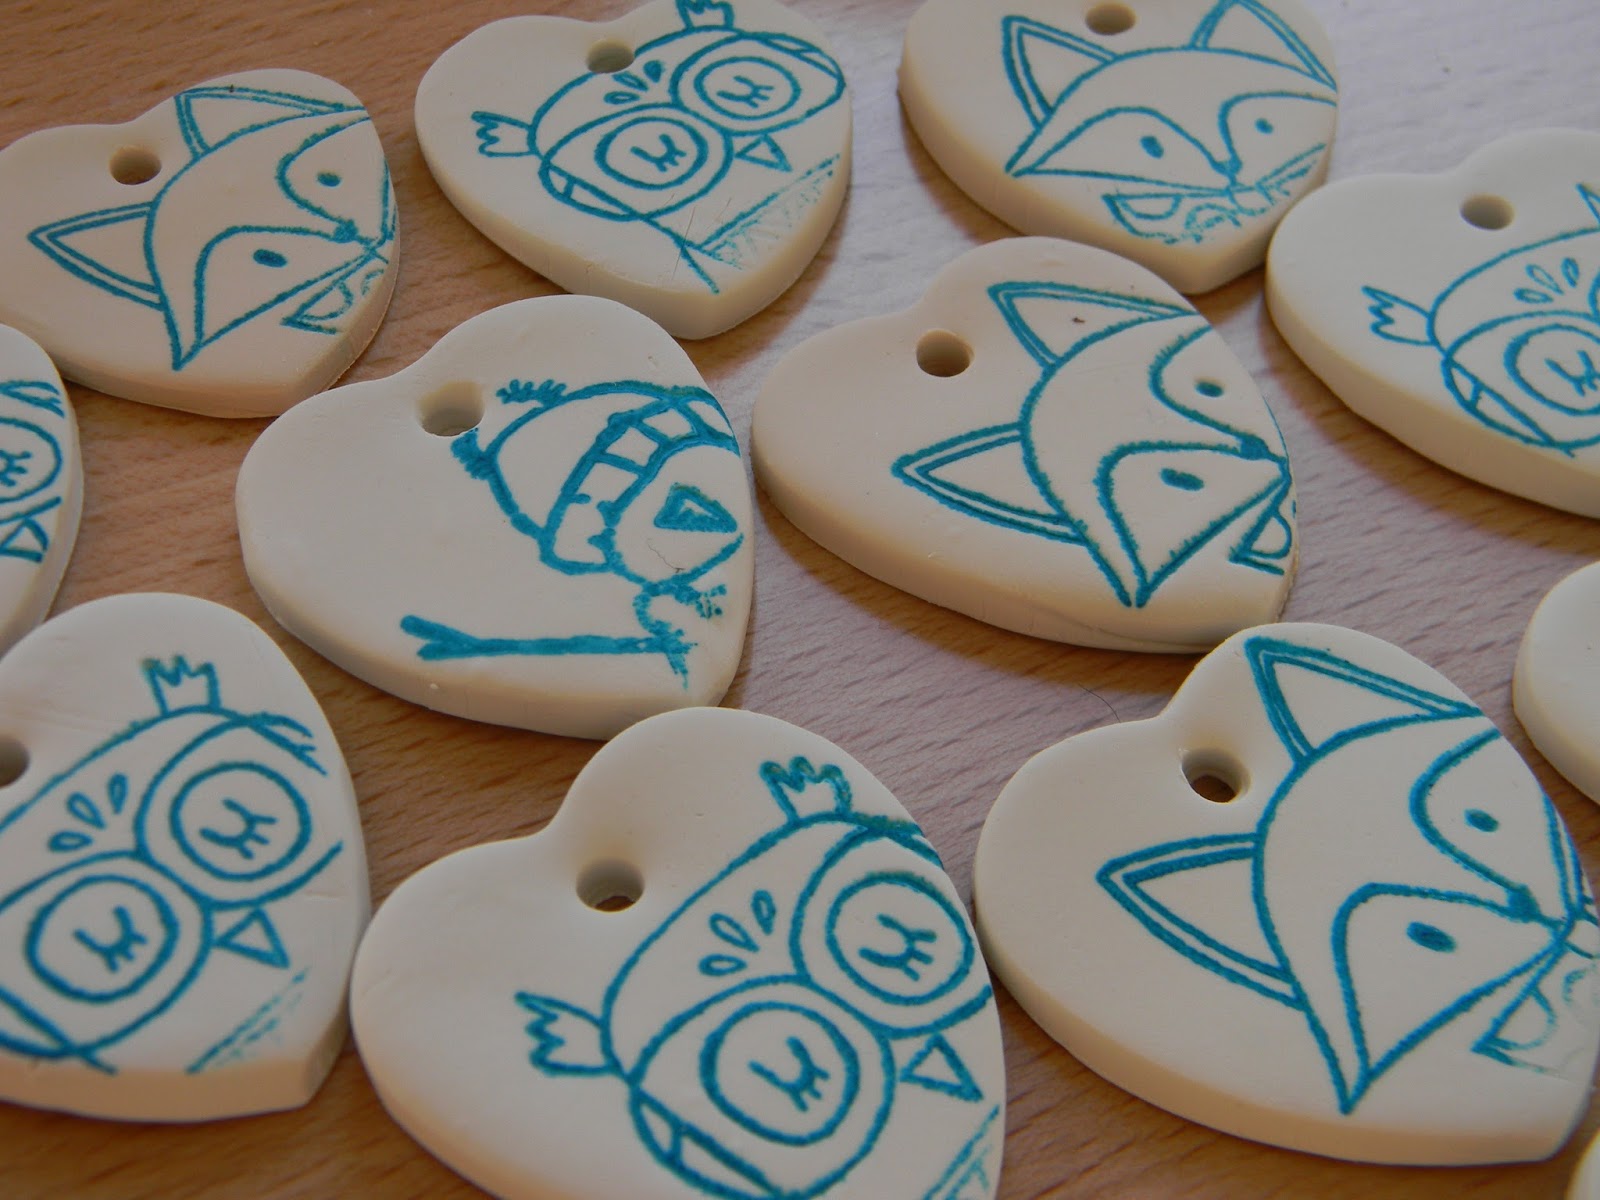
For this crafty project, I used Susan's co-branded stamp set, "Going Wild".  To begin, I used the clearsnap mini POP ink in Mystery to stamp the fox and the owl on white cardstock. 


Next, I used the mini POP ink in Kiss and Fresh on the basket lids.  I just swiped the ink pad right onto the wood lid.  I also used a damp paintbrush to fill in small areas where I couldn't get into with the ink pad. 
I colored in the images with markers and cut them out.


I used Decoart acrylic paints in red, yellow, light and dark green to paint plaid and polka dots on the  lids, on top of the red and green ink. 
After experimenting a bit, I decided to add a border around the images so they would stand out better.  I glued the images on top of cream colored cardstock and cut around them.   I lettered out the words "Be Merry" and "You are loved" with an ultra fine sharpie marker onto white cardstock and cut them out in rectangular shapes. 


With an old paintbrush, I brushed Decou-page on the back of the cut out images and adhered them to the lids.  When they were dry, I brushed more Decou-page on top of the images.  After completely drying, I outlined all images with a charcoal pencil and gently smudged them with a Q-tip. 
I added dashes, a squiggly line and dots around the lid border with paint and a small paintbrush.  Then I coated the surfaces with the Decou-page.  When dry, I sprayed them with Decoart's acrylic matte sealer. 


I hope you enjoyed my final 2016 project, as I have enjoyed sharing ideas with you these past months.  I hope you have a beautiful Holiday Season with loved ones and family. 
 
 
Joyce Shaulis                     Susan K. Weckesser Creative Design Team Member
 
 
Susan K. Weckesser products used:
https://www.clearsnap.com/ mini POP inks in: Mystery, Kiss, Fresh
 
Other products used:
https:decoart.com/ acrylic paints in red, yellow, light green, dark green. Decou-page, Acrylic matte sealer
miniature picnic baskets from Michaels
charcoal pencil
 ultra-fine Sharpie marker
Q-tip 


Friday, December 16, 2016

Scraps and a Tag Card

  I love tags.  Tags to hang on things.  Tags as stand alone art.  Tags added to a card.  Today I am using more goodies from my scrap bin.

I stamped a tea stained tag with the owl from the Going Wild stamp set.

The little tiny heart is from the Heart-FULL Homes stamp set.


I cobbled some tiny colored paper strips out from the side of the tag and hand-lettered my sentiment.


I added a scrap of ribbon.


And used a brush to brush some color with Perfect Pearls along his feet.


What fun things can you make with some bits and scraps from your scrap box?

Brooke Bock from the Susan K. Weckesser Design Team

Thursday, December 15, 2016

Christmas Love ( and a Few Snowmen )

Deb here sharing one of my favorite holiday crafts - and a whole lot of love this season.. This month, Susan's Creative Team is sharing the ways that we are brightening someone's day. It could be a friend or maybe even a stranger. But we all know that the holiday season is hard for some and it only takes a small act of kindness to let someone know that they are not alone.. Share a bit of your creativity -- a card, some beads, a drawing or jewelry. Whatever it is that you make from your heart. For the past few years, I have been making these glitter ornaments and I think they are just beautiful. Of course, my boyfriend has a different opinion of glitter overall ! But if you ask me, what are the holidays without GLITTER !!! I paired my love of glitter with my love of Susan's snowmen and came up with these tags...


  • I started off with some Kraft tags and added a bit of glitter washi  across the bottom and Holiday washi down the right side.
  • From the Crate Paper "Snow Day Collection", I cut several different size squares out of the snowflake paper. I stapled the larger snowflake squares to a sentiment on the same size square and attached then to the left side of the tag along with a smaller square at the top of the tag. 
  • The Snow Way stamp set has the cutest designs and seemed perfect for my tags. I used Colorbox Color Pop ink in Mystery to stamp the images and then colored them with a variety of my favorite markers. All elements were adhered using Tombow MONO Aqua Liquid Glue, except for the snowmen which were popped up using foam dimensionals.


  • I buy clear plastic or glass ornaments and Pledge Floor Care with Future. It has to have Future in it or else the glitter does not adhere as well to the sides of the ornament.
  • Using a funnel, put a small amount of Floor Care into the ornament and swirl it around to coat the entire inside. Pour the excess back into the bottle ( or small paper cup ) to reuse.
  • Place glitter into the ornament using either a funnel or else a paper cone. Swirl the glitter to coat the entire inside and then pour the excess out to re-use, I sometimes mix different colors of glitter so I don't waste any.
  • I use every kind/shape of ornament -  heart, oval, lightbulb, plain, patterned. Some of the prettiest have designs of snowflakes or patterns that show through when rest of the interior is coated with glitter. 
  • Every kind of glitter can be used in these ornaments. I used Martha Stewart glitter for these but have also used less expensive glitter, tinsel glitter etc... 

So, what am I going to do with my cute little tags, you ask ?? Well, two of the places that give me joy are the book store and the coffee shop. So I will be dropping off a few at each of those places to some booksellers and baristas. Several more will be left on a shelf or table for anyone to find.  I challenge each of you to share a bit of yourself this holiday season ( and all year long ) by creating something and giving it away.. I am doing this to continue in the spirit of the Christmas Love Campaign that was started by Susan K Weckesser to honor her late father. I hope that you will join me and brighten someone's day.


Thank you for visiting.. I hope that my project has inspired you.
Debra Davison
Susan K Weckesser Creative Team

Monday, December 12, 2016

Waiting for Spring!


I really don't like the winter much - I spend a lot of time basically hibernating under a blanket waiting for the spring to come! So today I must apologise for my wholly unseasonable tag project!

I was thinking about something my teamie Joyce said when I created this - she was talking about how to use stamps creatively and so my 'flowers' were born. They are actually created using the leaf and feather stamps from Going Wild!


Here's how I made it:
1) Stamp the leaf in pink ink creating a radiating pattern with multiple images. Fill in the gaps between the leaf images with feathers stamped in yellow.

2) Use the star from Unicorns & Rainbows to create a flower centre in each cluster of stamped images.

3) Use a black pen to roughly outline the petals with scribbly lines. Also draw in some swirly curls and teeny circle dots, freehand.

4) Go over the swirls and dots with green watercolour.

5) Stamp the sentiment onto kraft card, cut out in a circle and edge with Susan's Snow ink from Colorbox. Mat the tag onto kraft card edged with the same white ink and finish with ribbon and gems.

Hope this makes you feel a little warmer today!!!

Katy x

Susan K Weckesser products used:

Unity/SKW stamp sets: Going Wild, Unicorns & Rainbows, In My Garden

Colorbox Color Pop/SKW Inks: Snow, Mystery


Friday, December 9, 2016

The Happy Homestead and an Art Journal

Hello everyone Kim here today i am sharing with you an art journal page I have completed using the amazing stamps and pattern paper from Susan Weckesser.

I just loved the The Happy Homestead stamp, In circle me stamp and the the Live in Colour pattern paper.

I have completed lots of layers before taking the The Homestead stamp and stamping on to tissue paper and then using gel medium to adhere it to my page and then I took the flowers from the Live in Colour paper and cut them out and clustered them into the bottom corner of my LO. I have also used the In Circle Me stamp and just rolled it up and randomly inked across my page as you will from some of the close images.  


You can see how I have randomly stamped using the In Circle Me stamp from the below image.

Below show how I have used the Live in Colour pattern paper to make the collage of flowers,


And this final image shows the effect you achieve by stamping onto the tissue paper using the Happy Homestead stamp,


Products used 


In Circle Me Stamp


I hope you have enjoyed look at my creation and I look forward to sharing more with you.

Wednesday, December 7, 2016

Snowflake Kisses

Hi everyone, Steph Ackerman here today using a sweet new stamp set from Unity called Hello Winter.  This stamp set contains 9 stamps of assorted sizes and today I wanted to focus on the Winter Girl.


I colored her with Copic Markers then die cut her with Spellbinders dies.  She looks so cute!!!  A light edging of Shimmer Metallic Pigment Ink was added before I matted her with brown cardstock.

 
Using the Bouquet paper from the Live in Color Collection, I placed her on top, then added the sweet sentiment which I also die cut. 
 
Around the card I tied ribbon, then added the panel with foam adhesives.
 
 
Thanks for stopping by today.
 
Steph Ackerman
Susan K. Weckesser Design Team


Monday, December 5, 2016

Festive Jars with Snow Way Stamp Set

Hello crafty friends

The theme for this month over on the Susan K Weckesser team blog is Craft some Love. The idea is to create a home made gift to give out to someone even a stranger. Just spread the love.


I altered these jars i bought from Poundland and used the DecoArt Chalky Finish Glass Paint to alter the colour. It will take two coats and a day to fully dry before you seal it. I put the lid on a bit too early and took off a layer of paint.


I used Susan's Snow way stamp set to create these cute watercolor tags.


I decorated the jars with anything that sparkled including tinsel trims and gems. I used a hot glue gun to hold everything in place.


For this one i glued pearl beading around the base and used blue gems for a more icy look.


I used big red flat back pearls for berries


I used the Clearsnap Color Pop Mini inks to color the tags and mixed Fresh with Night to get a darker green. I mixed the two blues together to get a lighter shade.


Thank you for visiting

ShareThis2

BrendaPInnickColorCafe